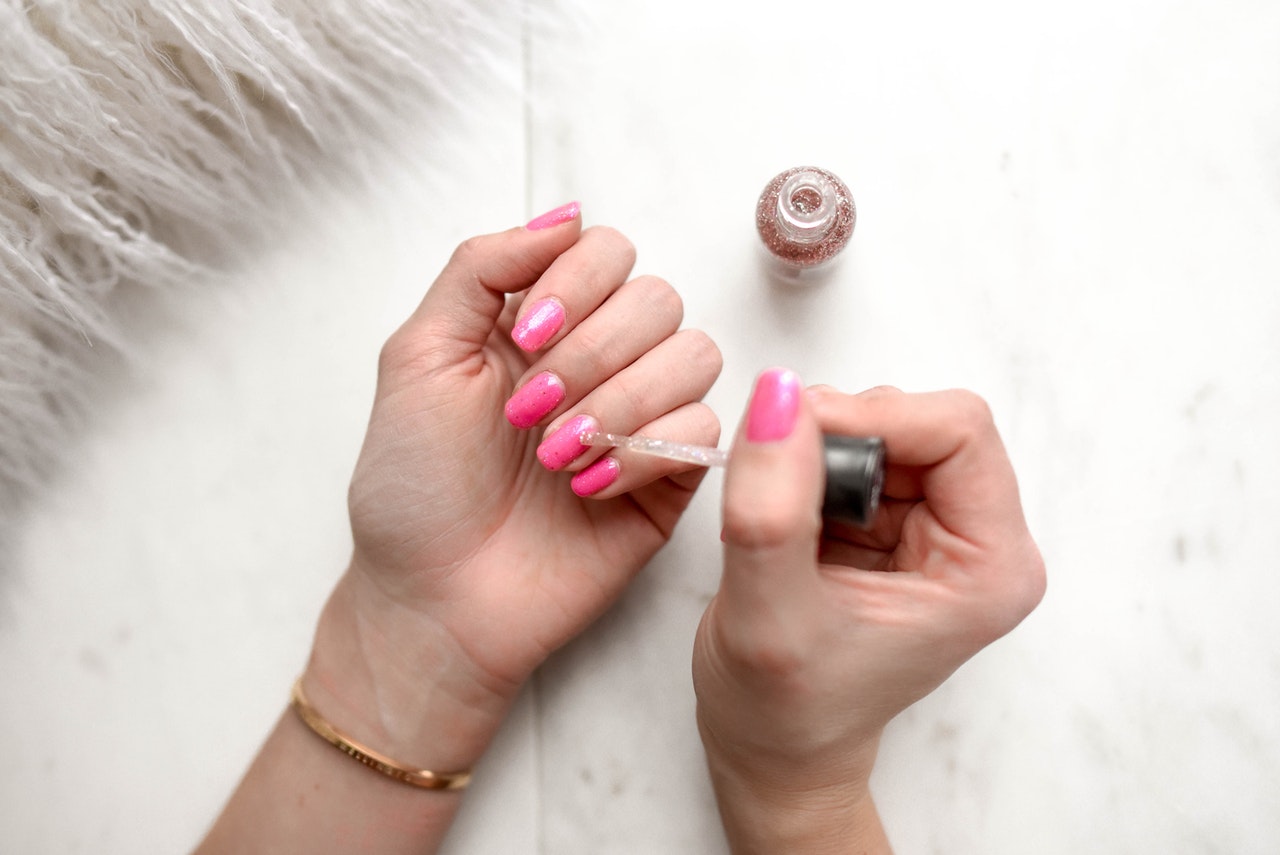
Thinking of doing it yourself gel manicure at home and not sure what products to use and how to apply it? Great, because I'd like to show you the how-to and tips for doing gel polish at home.
Doing Gel Polish at Home? Really?

Photo by Photo by Element5 Digital
The idea of getting your gel nail polish done at home is very popular nowadays since applying gel nail polish is getting way easier now and it will save you money in the long run. No need to go to nail salon anymore or waiting for your appointment.
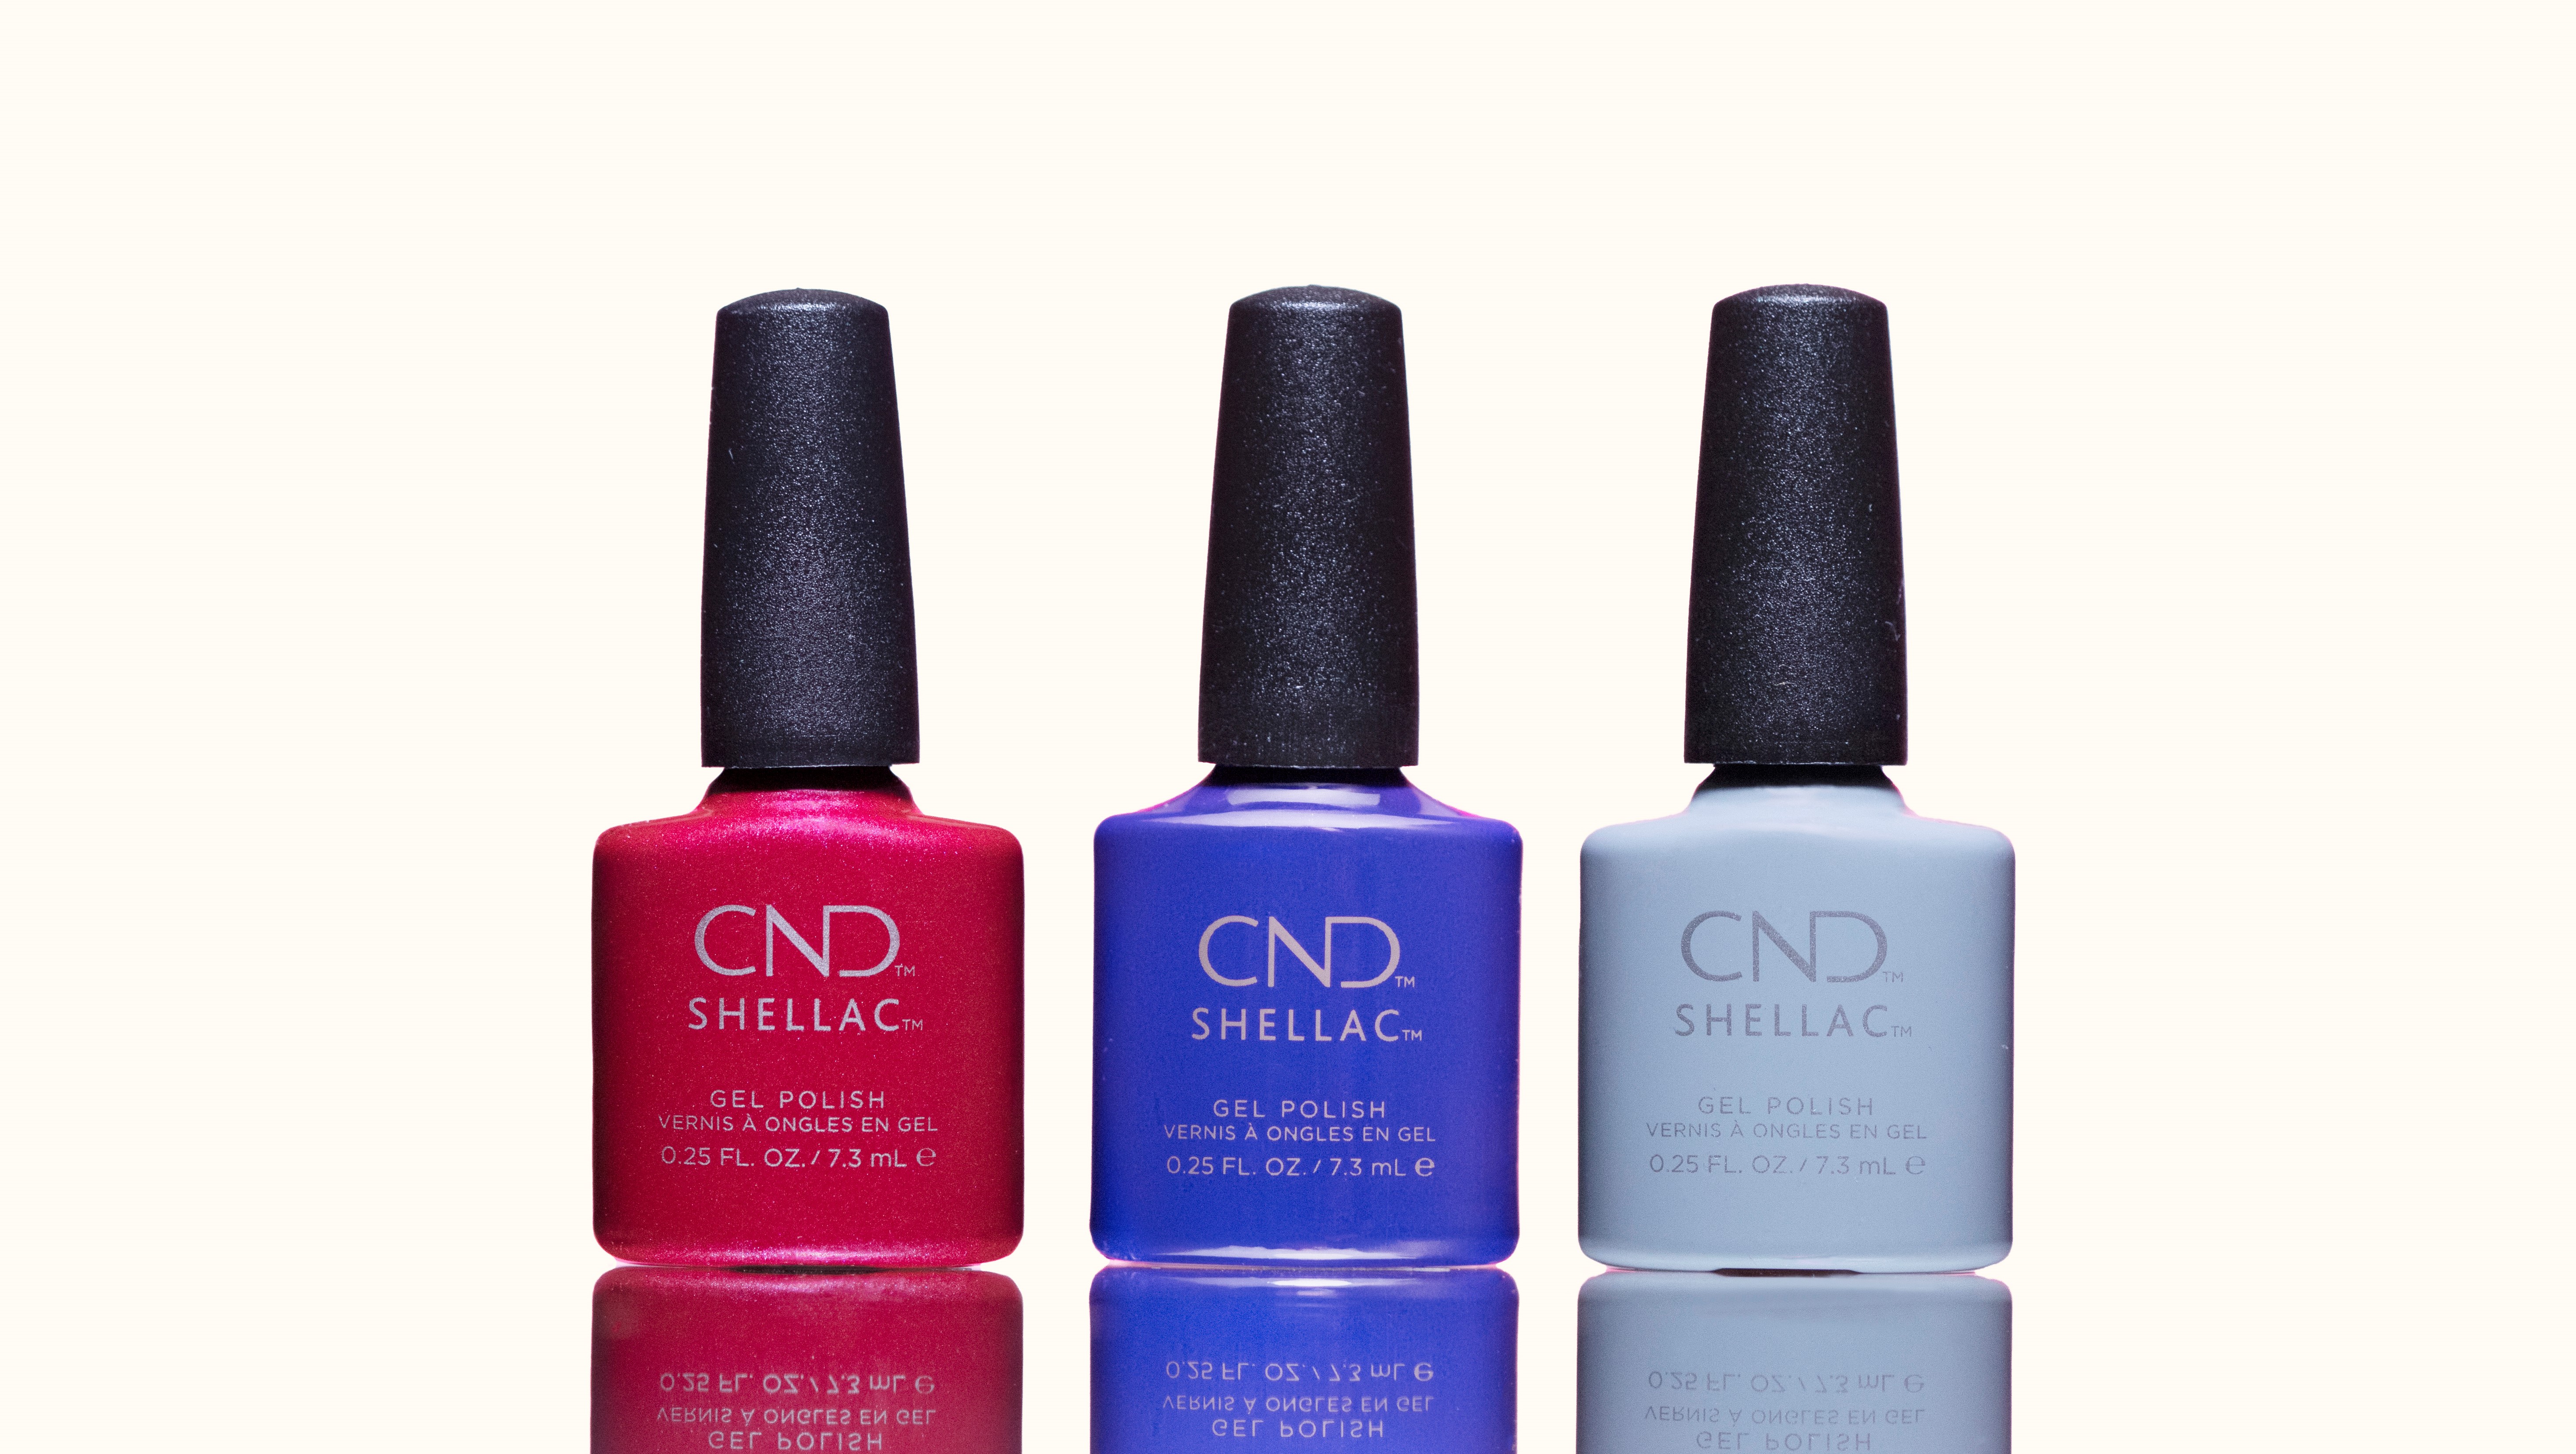
Applying gel polish nowadays is just like regular nail polish in regular bottle without the painstaking steps. There are tons of brands of gel nail polishes to choose from now since a decade ago when it all started. Since Esther's Nail Center offers just the popular brands such as CND Shellac, Gelish, Daisy DND Gel, OPI, PureGel, in this article, we'll only discuss these brands.
Shellac or Gelish? Help Me to Choose

The first thing people usually ask is which brand of gel polish I should choose. In my opinion for doing gel nail polish at home, each brand has its own pro and contra. Let's compare them in detail below.
| CND SHELLAC | GELISH | OPI GELCOLOR | DAISY DND & DC | PUREGEL | |
| PRO | Requires no buffing so more gentle to nails. Nice formula and great new brush. Long shelf-life (>5yrs). | Great color selection, medium range price. Stays up to 21 days. | Nice formula and long shelf-life(>5yrs). Many colors to choose from. Almost odorless. | Low price that includes regular nail polish. Great color selection. Strong odor. Long shelf-life (>5yrs). | Odorless, healthier alternative that alcohol removable. |
| CON | Higher end price. Stays up to 14 days. | Requires buffing to break the seal. Medium shelf-life (3-5yrs) | High price. | Requires buffing to break the seal. Inconsistent colors. | Medium range price. Smaller colors palette to choose from. |
| PRICE (as of May, 2022) | $14.49 | $12.99 | $17.99 | $8.50 - $9.50 | $11.99 |
One best way to find out is to try them out. You may go to a salon and see what and how the nail technician does your nails. Then see which one stays longer on your nails as everyone has different nail condition. Some people has better application with one brand while not on the others.
Gel Nail Polish at Home Step-by-step
Updated 4.3.2020 - We posted an updated instructions for using Gelish gel polish system at home. If that's the brand you use, you may want to jump there.
What You Will Need
Basically what you need for doing gel nail polish at home are listed below. It's recommended to use gel polish as a system to ensure the optimum result. This instructions below can be used for any gel polish, no matter what the brand is. Follow the recommended curing time from the product info or the manufacturer.
- Gel base coat such as Gelish Foundation Base Gel
- Gel top coat such as Gelish Top It Off
- Nail cleanser such as CND Scrubfresh or Gelish Cleanser (blue liquid)
- Gel nail polish such as Gelish Soak-off Polish or OPI Gel Polish
- UV light 36-watt or LED Lamp
- Nail bonder such as Gelish phBond
- Gelish Structure Gel - optional, only if you have weak and peeling nails
- Cuticle Oil - important to use it daily
- Lint-free nail wipes or Cotton ball
- Fine nail buffer block - Gelish recommend using 100/180 nail buffer but we like to use a fine nail buffer because it's less coarse so less harsh to the nails.
Application
- Prepare nails by cleaning the nails or removing old nail polish.
- Push back the cuticle and clean the surrounding nail plate.
- Shape the nails with 180/240 grit nail file.
- Buff nail lightly with nail buffer block.
- Remove the dust and wipe the nail with Nail Cleanser using a lint-free wipe.
- (Optional) Apply a coat of nail bonder. Wait until it dries. Why nail bonder? Read tips below.
- Apply Gel Polish Base Coat in a very thin application and seal the edges of the nails. The key to successful application is to apply in a very thin layer. Make sure the gel doesn't touch the cuticle. If it does you can wipe it off later with wood cuticle stick.
- Cure (by placing all fingers) in the UV Lamp for 1 minute or LED lamp for 30 seconds.
- Apply Gel Polish Color in a very thin application from cuticle to free edge. Be sure to seal the edges.
- Place hand in an UV light for 3 minutes for dark colors or 2 minute for light colors. Or 30 seconds for LED lamp.
- To even the coverage, repeat step 9 & 10 as necessary.
- Apply a thin coat of Gel Polish Top Coat from cuticle to free edge.
- Place hand in UV Lamp for 2 minutes or 30 seconds for LED light.
- Wipe of the tacky surface with nail cleanser and lint free nail wipes.
- Massage cuticle oil to the skin surrounding the nail.
Check out these video tutorials on Gelish application.
Tips for Applying Gel Polish at Home
- Shake, shake, shake your polish before application to make sure it mix well. A good shake make your application easier. Invest in a good nail polish shaker.
- The purpose for applying nail bonder is to ensure optimal performance by increasing the bonding between natural nails and the gel polish. If you feel that your application doesn't last as long as it should be, try using a nail bonder.
- Get yourself a nice and handy cuticle oil, like CND Solar Oil or Gelish Nourish Oil, because you often need to keep the nails moisturized as using gel polish can be dehydrating.
- Any brand of 36-watt UV Lamp or LED light works. The professional LED light that can cure 5 fingers at the same time is preferable. With UV Lamp you have to change the bulbs regularly and takes more time to cure. With LED lamp, you don't need to change the bulbs, it last longer and cure in a shorter amount of time.
- If you are concerned with UV Light exposure you can apply sunblock on hands or wear the UV Lamp fingerless gloves before application.
- If you find out that your gel polish is thick, use gel polish thinner before application. This is a recommended product to save your gel polish life.
--Update (May 2014) : Since CND Shellac application is slightly different than Gel polish, we posted a simple, photo tutorial on how to do Shellac Nails at Home. Check it out!
